Finally we are ready for colour. What a challenge this has been. Being a person from the panel trade I have found this possibly more difficult then stretching cars. Which I have also done.
To attempt to match the paint peel, over spray, nuts, bolts, leave factory ripples, rough welds and poor gaps has been difficult and the exact opposite to what I know.
Anyway I have put a great effort into this car and hope this information is useful.
There is still heaps to go so keep watching.
For those that ask what products I use, here is why I don't show it. I will not advertise for big company's for nothing. END OF STORY!
And yes this car will be FOR SALE once complete.
And our photo shoots have been done for Concourse Parts. Dash Fascias, Sun Visors & Crash Pads. Phone Concourse Parts on 02 44231215.
Or email: sales@concourseparts.com.au
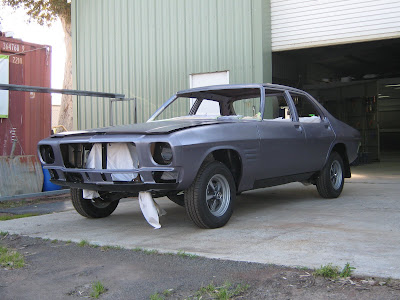


 It's been a while now, and finally the SS has let it's carcoon.


